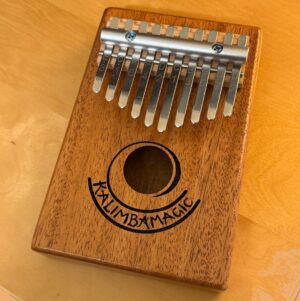
When they get an order, most of the world’s kalimba purveyors just pull an instrument off the shelf, pack it in a box, and put a label on it.
At Kalimba Magic, we do so much more. We fine-tune the instrument. We paint the tines for guidance. Sometimes we retune the instrument to a different tuning.
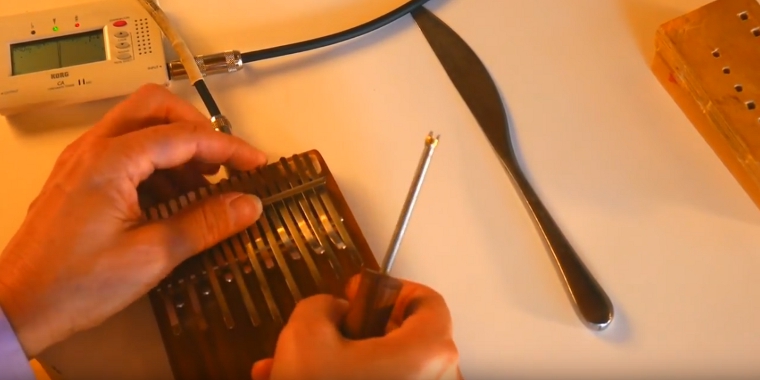
And sometimes we just take the whole thing apart, rearrange the kalimba, and rebuild it as a totally different beast.
That is how we make the Celtic D Kalimba, SaReGaMa karimbas, and a whole host of custom-tuned instruments.
Follow along as I work my magic to create a Celtic D:
That is me, Mark Holdaway, doing one of my main activities at Kalimba Magic: converting one type of kalimba to another. No, I am not quite this fast.
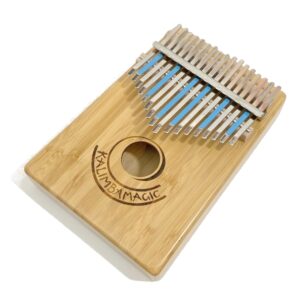
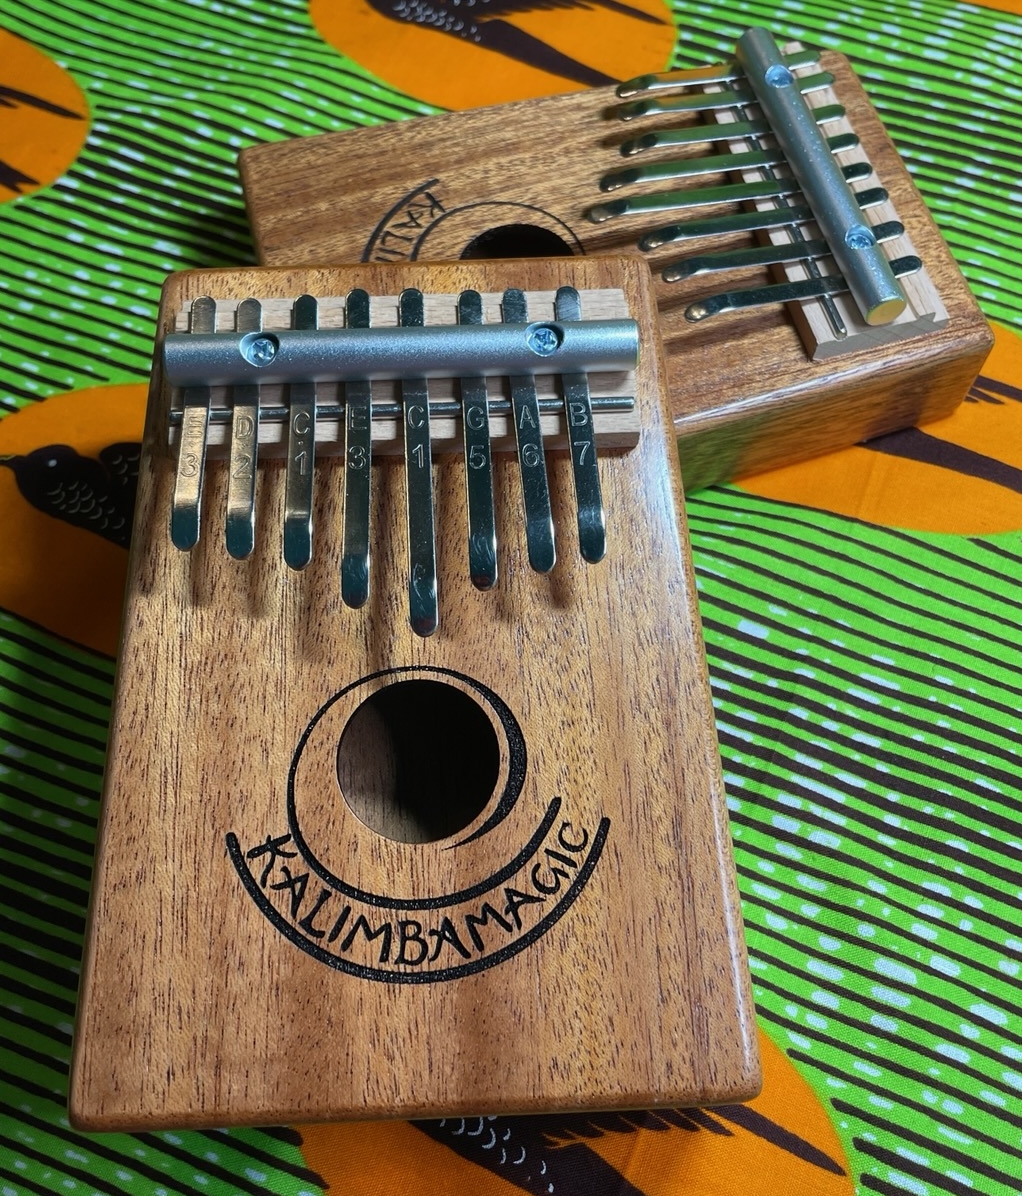
Kalimba Magic offers kalimbas in unique tunings and setups that are available nowhere else on earth. The Celtic-D Karimba is one such unique setup.
Most people understand that it takes many years to become a serious professional at almost any endeavor. When I began to play music, I was no expert. I had to work and practice, like anyone, for years to become proficient. But at this point in my kalimba career (several decades in), everything I do probably looks pretty easy. I am so relaxed with the kalimba, and so “in the flow” most of the time, I just slide through whatever song I’m playing.
I also make the kalimba transformation in this current video look pretty easy. That is because I have become quite confident (through much practice) in my motions. I know just how dull the butter knife is, and I know how hard I can press without drawing blood. My thumbs and fingers are callused in exactly the right places to keep my flesh intact as I push or grasp the metal tines. I don’t hurt myself. These motions, like a dance, must be learned and carefully, slowly done at first. Be careful if you try to do exactly what I do. Unless you have done this many many times, you probably will hurt yourself. That is experience speaking!
One key point if you take on this challenge: the bridge and the half-round wood on the Hugh Tracey kalimba are not glued down, but are held in place by friction from the downward pressure of the tines, caused by the Z-bracket pressure bar, which is screwed down. If you try something like this, remember the starting orientation of the different pieces, as you will want to keep them in that orientation (rather than flipped around) when you reassemble. Another key point is the distance between the pressure bar and the Z-bracket. Mark it with a pencil before you take it apart!
And really, I am not encouraging you to do this sort of thing. This is more just for education (and maybe a tiny bit of boasting). I had been playing kalimba for about 20 years before I first did this to a kalimba… and only because I had accidentally watered it and needed to take it apart to dry it.
On the other hand, it can’t hurt to know what is possible with the kalimba, can it?

 Christmas in July 2025
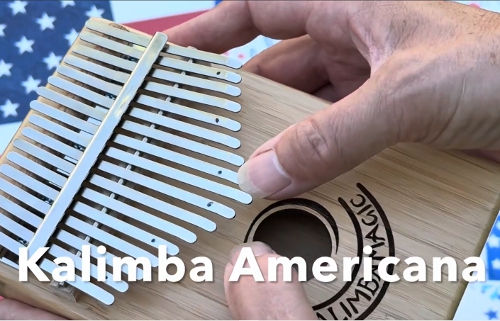 Patriotic and American Music for Kalimba